Think of Ticket Types as the buckets of information that your team can report on. Common examples are Maintenance Requests, Customer Concerns, and Inventory Requests. But your Ticket Types can encompass all of your business needs and are limited only by your imagination.
1) While in the Web App, use the menu on the left to navigate to "Tickets."
2) In Tickets, click on "Ticket Settings", which can be found on the left.
3) In the pop-up menu, you will see all current Ticket Types & access to their settings.
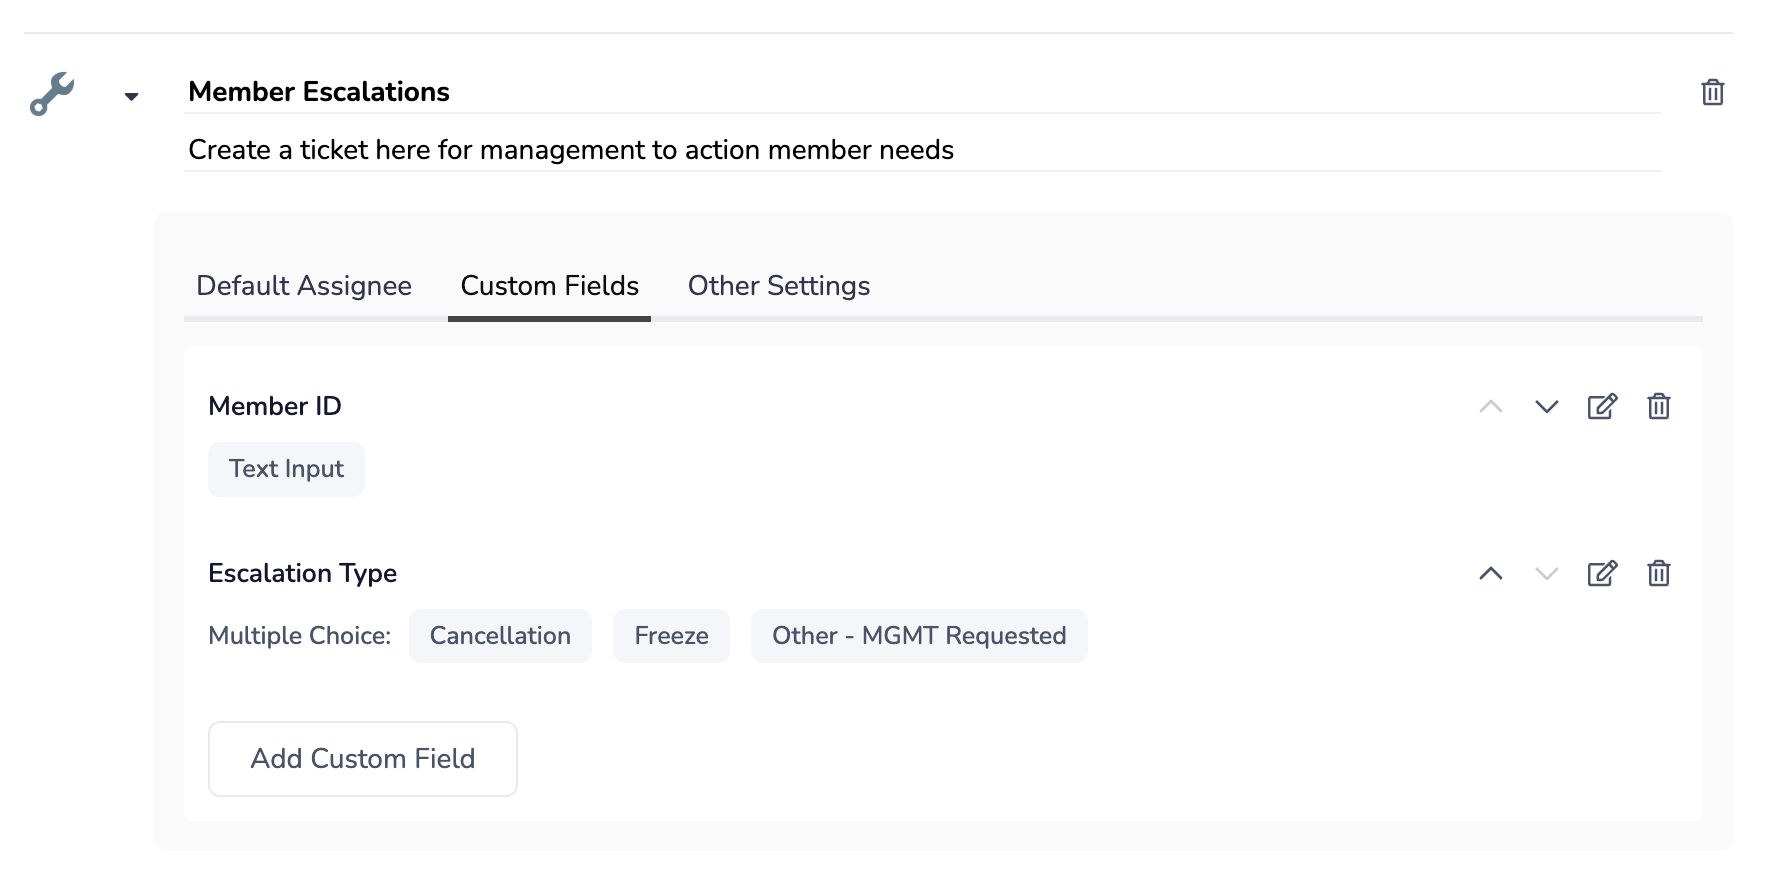
Default Assignee: Set a user who should have these ticket types assigned to them automatically
You can also set a Per-Location Override, so that specific ticket types within each location can route to a custom user
Custom Fields: “Build a form” custom to each ticket type. Collect text input, yes/no, single choice, or multiple choice. These fields can be optional or required.
Other Settings: Access to the “Require Photo” option, which can mandate a photo attachment before this ticket type can be entered by the team
4) Click "Add Ticket Type" to add a new type. Choose a name (mandatory), icon (mandatory), and a description (optional).
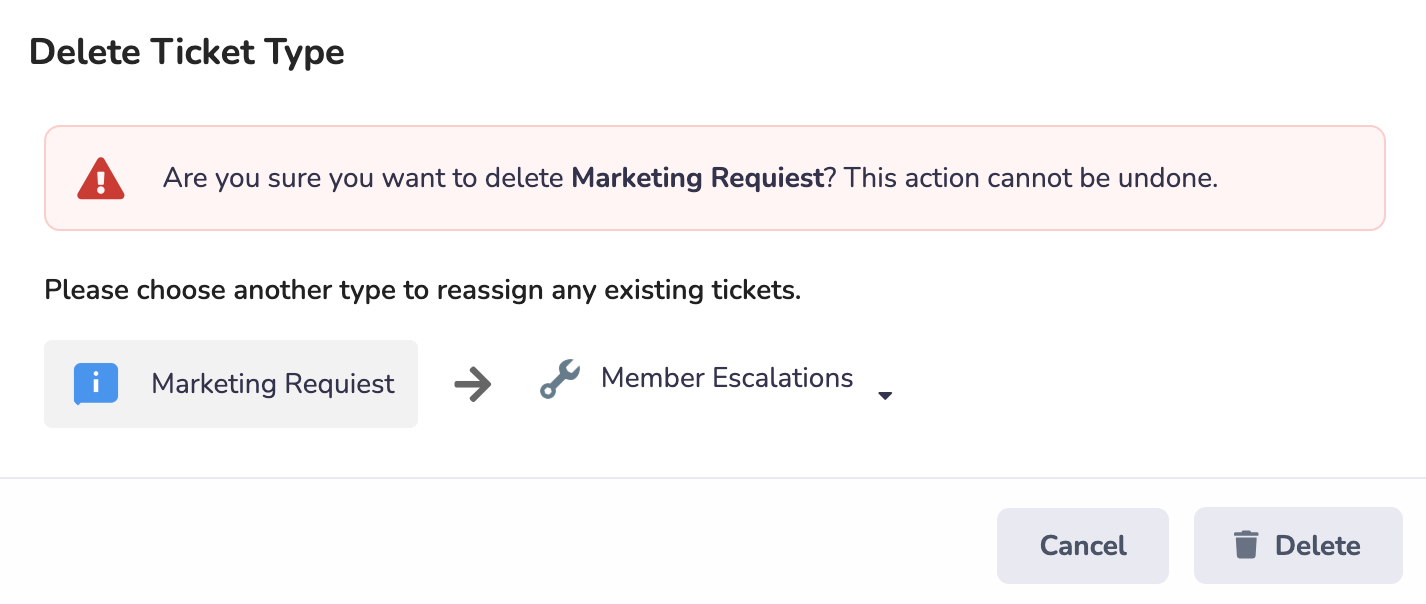
5) To remove a Ticket Type, hover your mouse over the trashcan icon next to a ticket type. Confirm deletion and a new ticket type to reassign existing labels.